Introduction
The Configuration Wizard (also called the configuration “Wizard”) is the procedure that guides the user in configuring the parameters of Prism after finishing its installation.
Guided Configuration
After powering up Prism, make sure there are no error LEDs, then proceed with the configuration wizard.
Access the Configuration Wizard
To access the wizard, you need to connect to the Prism WiFi network and visit the configuration page.
- Connect to Prism’s Wi-Fi network. In case you are using a smartphone, turn off the cellular data network as a precaution.
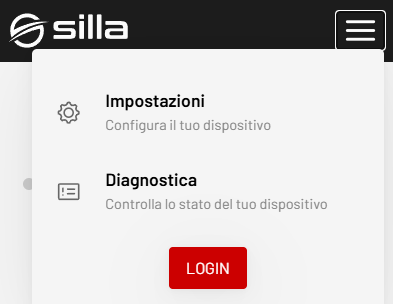
- Once connected, open the browser and go to the page http://192.168.8.1/ and press on Settings (from Smartphone, open the drop-down menu in the upper right corner)
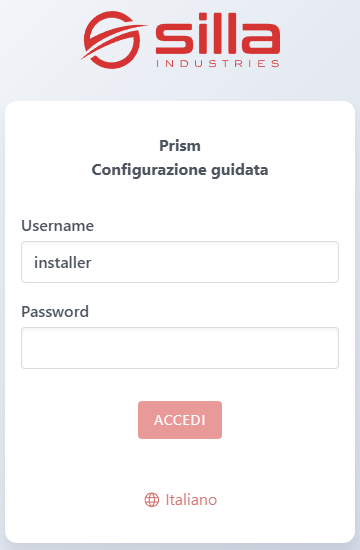
- On the login page, enter the “installer” credentials.
Prism configuration
The first page of the Guided Configuration contains the operating parameters of Prism.
Type of installation
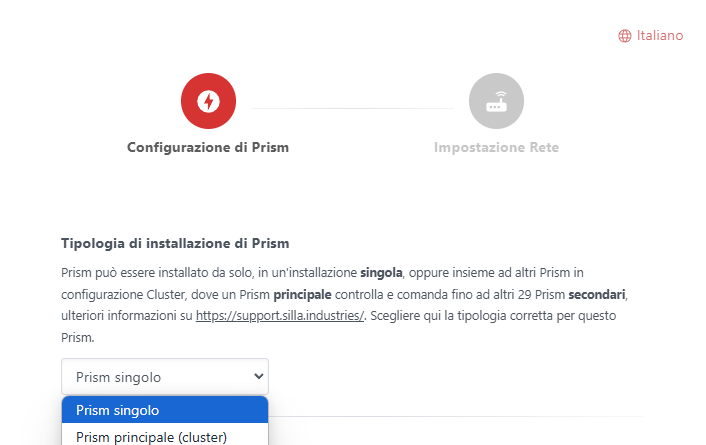
The first information to be provided is the type of installation, which can be:
- Single Prism
- For installation of only one Prism on the system.
- Main prism (cluster)
- Secondary prism (cluster)
- Use these options for installation of multiple Prisms on the same system.
Electrical system system: number of phases

Select type of plant on which the Prism is installed, which can be:
- Single-phase
- Two-phase*
- Three-phase
Circuit breaker calibration
Select the corresponding value in amperes (A) of the size of the circuit breaker protecting the Prism power line:

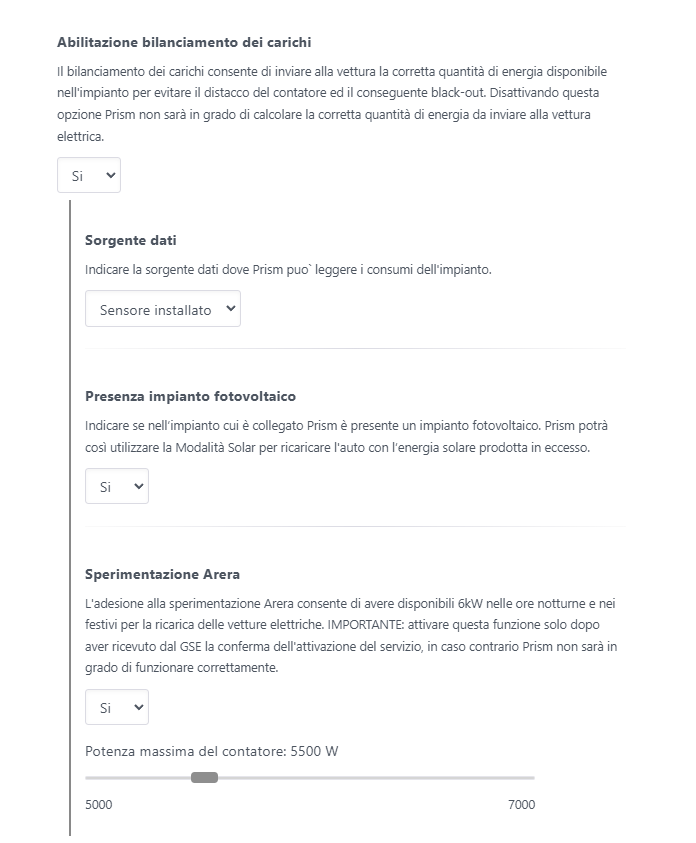
Meter power
Enter the value in watts (W) corresponding to the contracted power supplied by the household meter:

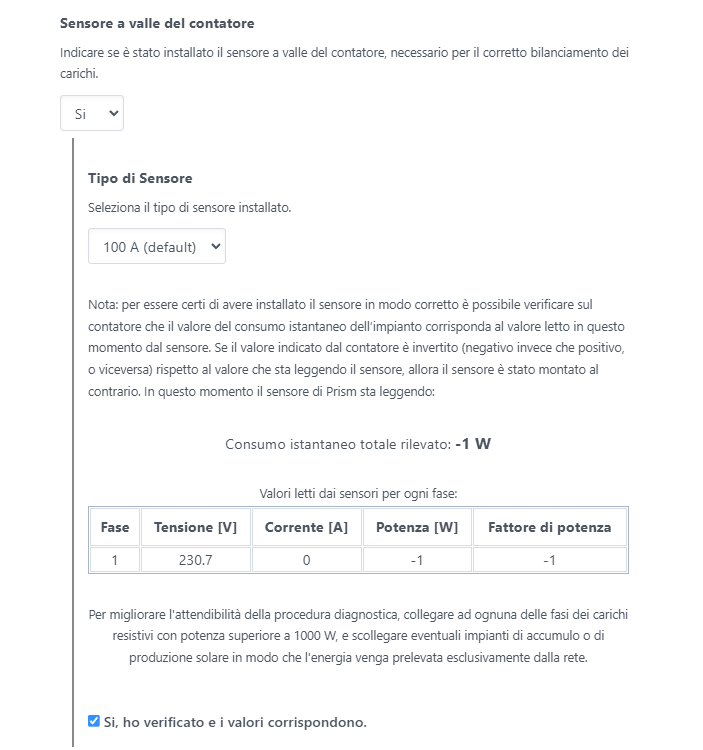
Sensor downstream of the meter
Select YES if the Prism sensor, which is essential for managing load balancing, has been installed:
- Select the type of sensor installed by choosing from 100A (standard) or 1000A (for large-cut systems, which can be ordered from our shop as an optional accessory).
- After verifying that the value read by the sensor matches what is delivered by the meter, check “Yes, I have verified and the two values match.”
MID sensor presence
Set the drop-down menu to YES if a compatible MID sensor has been connected to Prism (optional, see this FAQ about this):
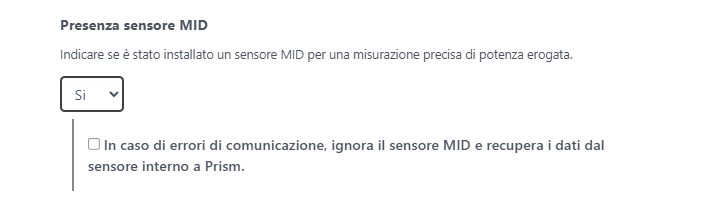
Check the next item if you want Prism to continue to receive data via its internal sensor if the MID fails.
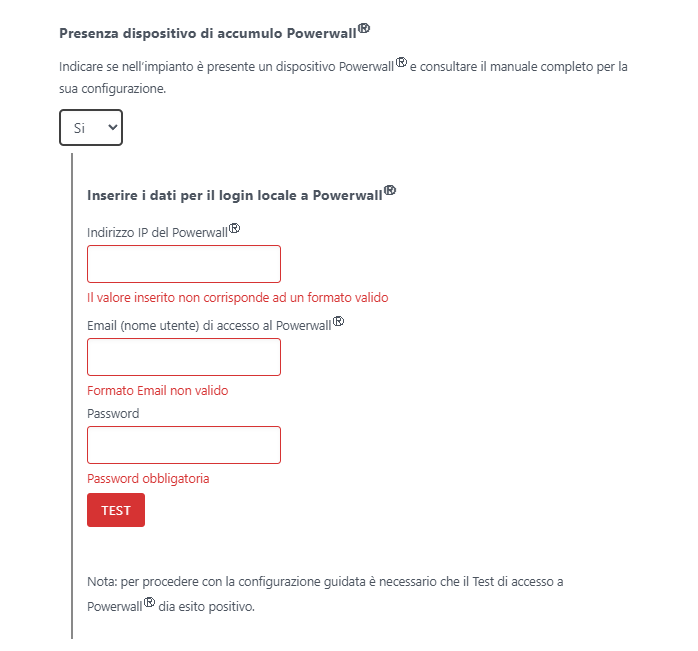
Powerwall storage device presence
Select YES if you want to enable API communication with a Tesla Powerwall. Enter the required values in the fields:
- IP address of the Powerwall.
- Powerwall login email.
- Tesla Gateway Password
Load balancing
Set the drop-down menu to YES if you want to enable load balancing. Values should then be selected via the respective drop-down menus:
- Data source:
- Sensor installed
- Powerwall
- Presence of photovoltaic system: NO/YES.
- Arera Experimentation: NO/YES
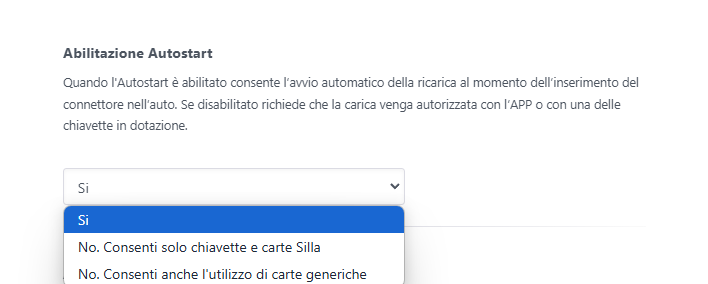
Autostart
Select the charging start mode:
- Automatic charging startup is allowed
- No. Allow only thumb drives and Silla cards Requires the swipe of an RFID card provided by Silla
- No. Also allow the use of generic cards Allows authorization with any RFID card with mifare protocol
Remote access
Enable remote access in order to use Prism through the MySilla application.

Communication via OCPP
In this section you can enter parameters to connect Prism to a Central System OCPP. Follow the dedicated guide for all the details:

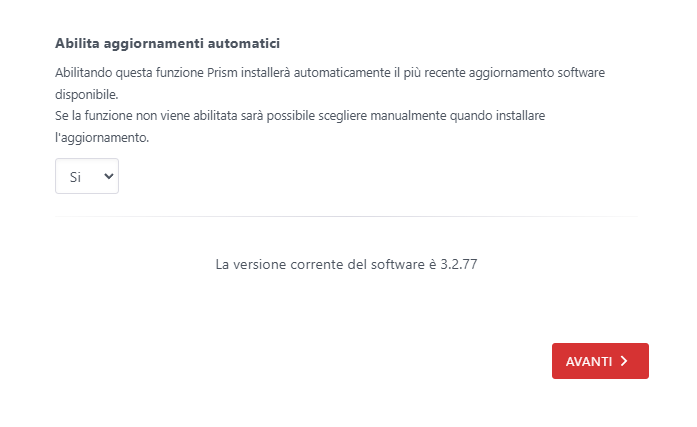
Automatic Updates
Select whether you want Prism to update automatically(Yes) or through manual authorization(No)
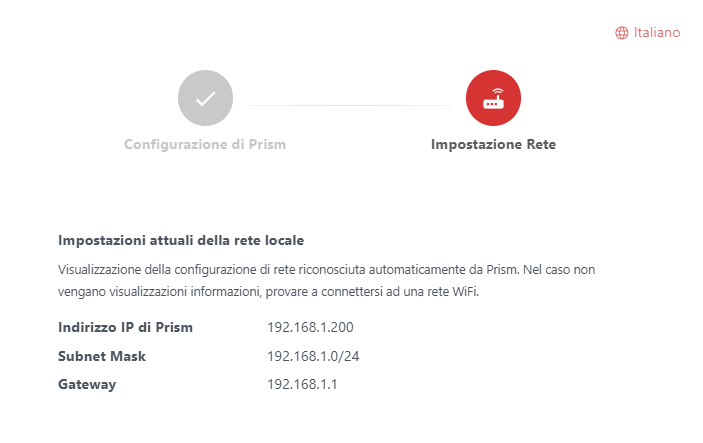
Network configuration
This page shows all the parameters of the network configuration.
Current local network settings
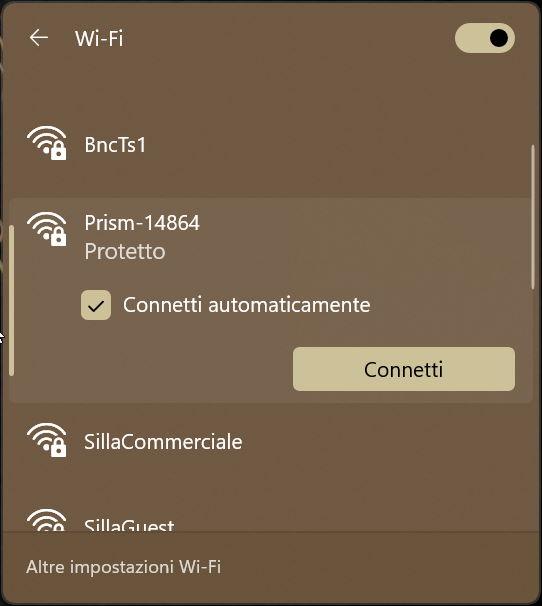
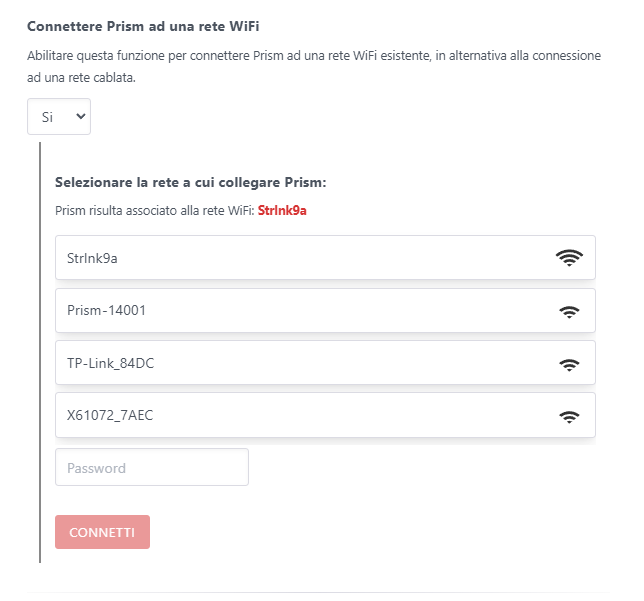
Connecting to a WiFi network
Press on the WiFi network to which Prism is to be connected, enter the password, and press Connect:
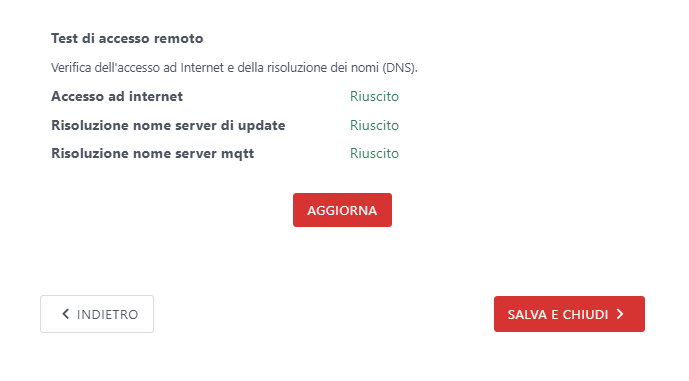
Remote access testing
In this part, it is possible to check the connection status of Prism and communication with Silla servers for using cloud services such as MySilla and receiving updates: